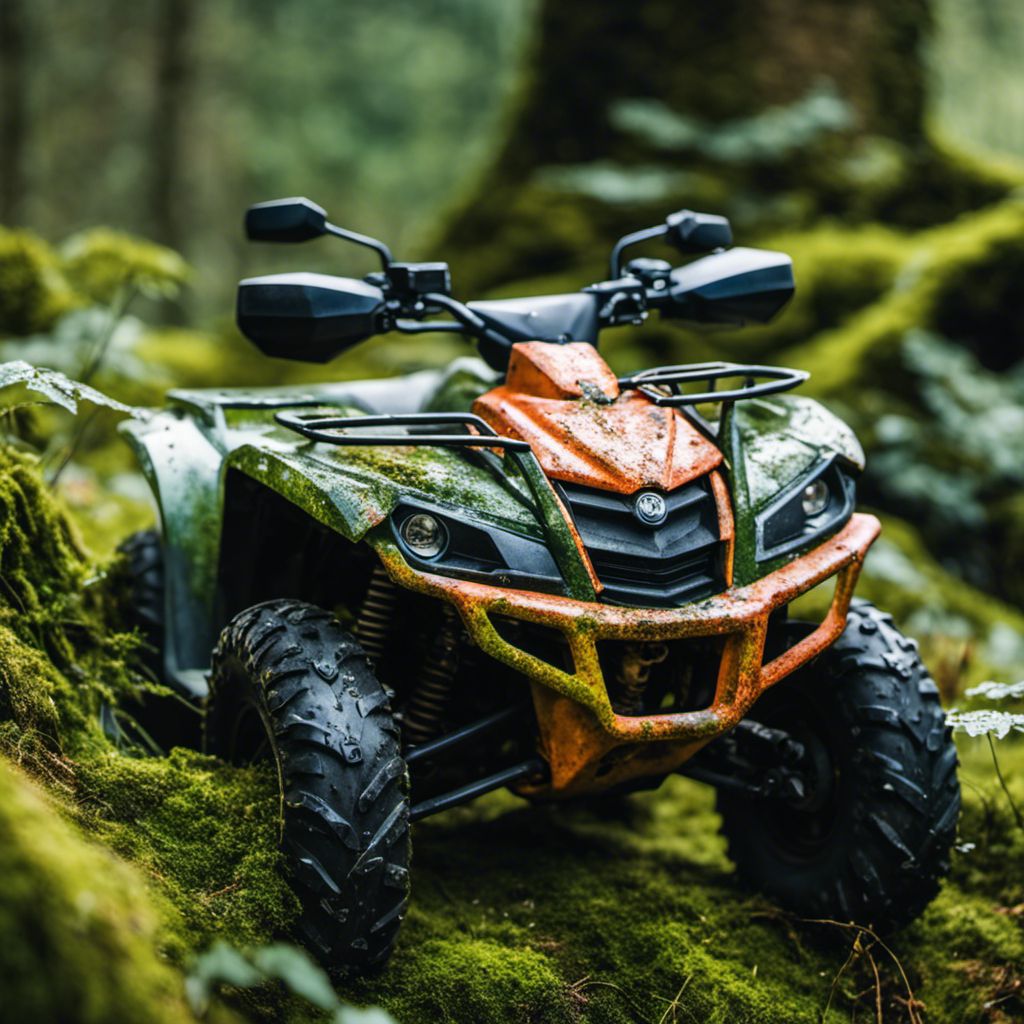
We totally get it – the irritation of watching your ATV’s plastic lose its luster can be tough to bear. Scouring through countless internet threads and putting various methods to the test, we’ve now pieced together a solid solution to restore glitter back onto your ride.
Unveil our expertly curated cleaning tips here that pledge not just a spick-and-span journey but also bring back that ‘just-bought’ gleam!
Key Takeaways
- Keep your ATV plastics bright with boiled linseed oil or plastic restorer products.
- Fix faded parts fast by using a heat gun or painting them again.
- Sonic and polish cracks in ATV plastics to make them smooth.
- Wash your ATV well and try an anti – mud coating to stop dirt from sticking.
- Use a sun block spray on the plastic parts of your ride to keep UV rays from fading them.
How to Restore Faded ATV Plastic

In this section, we’ll tackle the common issue of faded ATV plastics. We’ve all seen it – a once vibrant and glossy finish reduced to a dull, lifeless surface. But don’t worry, restoring that fresh-out-the-box shine is not as hard as you’d think! We’re going to explore several effective techniques such as the boiled linseed oil method, utilizing plastic restorer products on the market or even trying liquid wax.
For those feeling brave enough for a DIY challenge, we’ll guide you through using a heat gun or opting for repainting your ride completely. You just wait – by the end of our guide, your ATV will look like it’s straight off an adventure-filled showroom floor!
Boiled linseed oil method
We love using the boiled linseed oil method to restore faded ATV plastic. The shine it brings back is amazing!
- Grab some boiled linseed oil from the store.
- You can also get some paint thinner.
- Mix the two to make a solution that’s 40% oil and 60% paint thinner.
- Be sure to wear gloves, this can be messy!
- Start by wiping down your faded plastic with a cloth.
- Pour a small amount of your solution onto the cloth.
- Gently rub it into your ATV’s plastic parts.
- Let it sit for a few minutes so it can soak in.
- Use another clean cloth to wipe off any extra solution.
Plastic restorer product
We love using plastic restorer products on our ATVs. These works like magic to bring back the shine and color. They are easy to use, just apply and wipe off! It is a good pick for quick fixes before we hit the trails.
One of our favorite restorers is boiled linseed oil. We mix it with paint thinner to make a 40/60 solution. This acts as a great polishing agent for faded ATV plastics. Super Clean is another option we swear by for cleaning black mold from plastics before restoration.
You can find many other types of plastic rejuvenators in the market as well. Some riders also suggest liquid wax which does an amazing job too!
Liquid wax method
Let’s bring the shine back to your ATV. The liquid wax method is a great way to restore faded ATV plastic. Here are the steps:
- First, we need to prep our ATV. Rinse it all over before we start.
- Next, grab some sandpaper. We’ll need it for the prep work before applying the wax.
- Once our ATV is clean and dry, let’s start sanding the plastic areas that look faded.
- Apply a thin coat of liquid wax on the sanded parts after dusting off any debris.
- Let the wax dry well. It will help in bringing back a smooth finish.
- After drying, buff with a soft cloth or buffing pad until you get that new-like shine.
Heat gun method
We can’t wait to share the heat gun method with you. This is a great way to make your ATV plastic look like new.
- Get your heat gun ready. For this job, we need a heat gun set to a low setting.
- Safety first! Keep the heat gun a few inches above the discolored plastic.
- Slowly move the heat gun over the parts that need work. Take care not to rush.
- You will see changes in your ATV plastic color and look due to this tool.
- The heat gun also helps with old, cracked, or peeling plastic on your ATV.
- With it, you can also fix those annoying white “stress marks”.
Repainting option
We know how much you love your ATV. Keeping it looking sharp can get hard over time. But, there’s a simple solution to faded plastics – repainting!
- Start by picking the right paint for plastic.
- Wash all plastic parts of the ATV well before painting.
- Allow them to dry fully.
- Coat each part lightly with paint and let it dry.
- Repeat this process until you have a solid color that pleases you.
- Finish with a clear coat to protect the new paint.
How to Fix Cracks on ATV Plastic and Windshields

Cracks in ATV plastics and windshields are an all too common problem, but don’t worry- we have effective solutions for you. From sanding techniques to polishing hacks, we’ll share foolproof ways to fix those unsightly fissures.
And not just that, we’ll also give you some valuable tips on how to prevent these cracks from showing up again. So gear up, let’s restore the glory of your trusty ATV together!
Sanding and polishing technique
Cracks on ATV plastic and windshields can make your ride look old. But don’t worry, we are here to tell you about a method that can fix this problem.
- Start with fine sandpaper for the task. Use the one with the lowest number first.
- Move onto higher – numbered sandpaper bit by bit. You’ll notice the rough spots smoothing out as you progress.
- Wet sanding is another good option for your ATV plastic and windshields. It’s like giving your ride a refresh button.
- Always keep an eye on color consistency during sanding sessions.
- After the sanding part is over, it’s time to polish. Get hold of a clean microfiber cloth for this step.
- Apply a polishing agent in small circles using the cloth. Be careful not to miss any areas.
- The polishing step brings out a fresh and new look on your ATV.
Tips for preventing cracks
Taking care of your ATV plastic is key. Start with a good clean. Dirt can lead to more cracks. Next, try boiled linseed oil mixed with paint thinner. This mix can stop cracks from happening.
The ratio should be 40/60 for the best results.
Use a plastic restorer product too. It makes old, faded plastic look new again and helps prevent cracks. Liquid wax works well also in keeping the plastic safe and crack-free.
Last but not least, use a heat gun often on your ATV plastics. It helps keep them flexible and stops any new cracks from forming or old ones from getting worse.
Cleaning an ATV: Step-by-Step Guide
Get your ATV shining like new by following our comprehensive step-by-step cleaning guide – from preparations to exterior washing, we’ve got every stage covered.
Preparing for the cleaning
First, we need to gather all tools for the job. We pick a good quality cleaner and a sturdy scrub brush. We also get washing mitts or microfiber towels. These help us clean well without scratching our ATV.
Next, we park our ATV on flat ground away from mud pits or sand dunes. This keeps more dirt from flying onto the machine while we work. If it’s sunny, finding a shady spot is best; extra heat can dry up cleaners too fast!
Washing the exterior
We start with a good soaking. Water helps to loosen the dirt on the ATV. Then we break out our garden hose and spray down the ATV. The cold water helps to take off more of the mud and grime.
Next, we grab our microfiber towel or washing mitt. These are gentle on our ATVs paintwork but tough on dirt. We also use a plastic mud scraper for big chunks of dirt – it’s great because it doesn’t scratch anything! And lastly, we always clean off mud straight away so it won’t damage our vehicle.
Making the ATV look like new
Let’s make your ATV shine like it just came from the shop. First, we’ll start by buffing the plastic parts with a cleaner. This step will refresh and revitalize those dull surfaces to look brand new.
Don’t forget to remove parts like the rack for a deep clean. We rinse off loose dirt with water from a hose before cleaning starts. For that extra gleam, we finish with silicone spray polish on the plastics.
It also keeps dirt from sticking later on! You won’t believe how easy this is and what a difference it makes!
Expert Tips for Maintaining ATV Plastics
We know how important it is to keep your ATV looking sharp and fresh. Try removing components before cleaning to ensure you get every nook and cranny. An anti-mud coating can help prevent dirt build-up, which will preserve the look of your machine.
Lastly, don’t forget to protect against UV rays; over time, they can fade plastics dramatically. These small steps can make a big difference in maintaining the appearance of your ATV’s plastic parts!
Removing components before cleaning
We always start our ATV cleaning with an important step: removing components. This pro tip helps in keeping your ATV plastics in top shape. Here’s a breakdown of how to do it:
- Start by taking off the seat. It’s often the easiest part to remove.
- Check for any loose parts. You wouldn’t want them geeting lost or damaged.
- Unbolt the plastics next. Make sure to keep all screws and bolts safe.
- Pull out air filters if they’re too dirty. Clean them or replace with new ones.
Applying anti-mud coating
We have some great tips for you. Let’s talk about applying an anti-mud coating to ATV plastics. This step keeps your ride looking fresh and new.
- Start by cleaning the plastic surface. You want it to be free of any dirt or grime.
- After cleaning, let the surface dry completely. This is key for a smooth application process.
- Now, grab your anti-mud coating solution. There are many on the market, but look for one that is water-repellent and mud-resistant.
- Apply the coating evenly across the plastic surface of your ATV. Be sure not to miss any spots!
- Allow the coating to dry before taking your ATV out for a spin.
Protecting against UV rays
Sunlight can harm your ATV plastics. UV rays cause the color to fade and make parts weak. We need to stop this! It’s a good idea to keep your ATV in the shade as much as you can. This helps block out harmful sun rays.
But, you can’t always do that, right? That’s why we use sunscreen on our plastics! Just like how it works on our skin, it blocks UV rays from hurting the plastic. Use it often to fight off fading and damage by sunlight.
So next time before you take your ride out for an adventure, give it some sunscreen treatment first for better material protection against sunlight and less degradation due to UV exposure.
Conclusion
So, keep your ATV looking new with these tips. Be sure to wash it often and use the right tools to fix any cracks. With good care, your ATV will shine bright and run smooth for years!
FAQs
1. Why is it important to clean ATV plastics?
Cleaning ATV plastics helps keep your ride looking fresh, protects the plastic from damage, and can help spot potential issues early.
2. How often should I clean my ATV’s plastic parts?
It’s good to clean your ATV’s plastic parts after every use or at least once a month if not regularly used.
3. What kind of cleaner should I use on ATV plastics?
Non-abrasive cleaners made specifically for car or motorcycle plastics are best for cleaning ATVs as they won’t scratch or damage the material.
4. Can I just use water to clean my ATV’s plastic parts?
While water can help remove dust and light dirt, a proper cleaning solution will be needed for tougher stains and grime.
5. How do I give my ATV plastics a shiny finish after cleaning?
After you clean the plastics, apply a thin layer of automotive wax following package directions; this gives them shine and protection.

