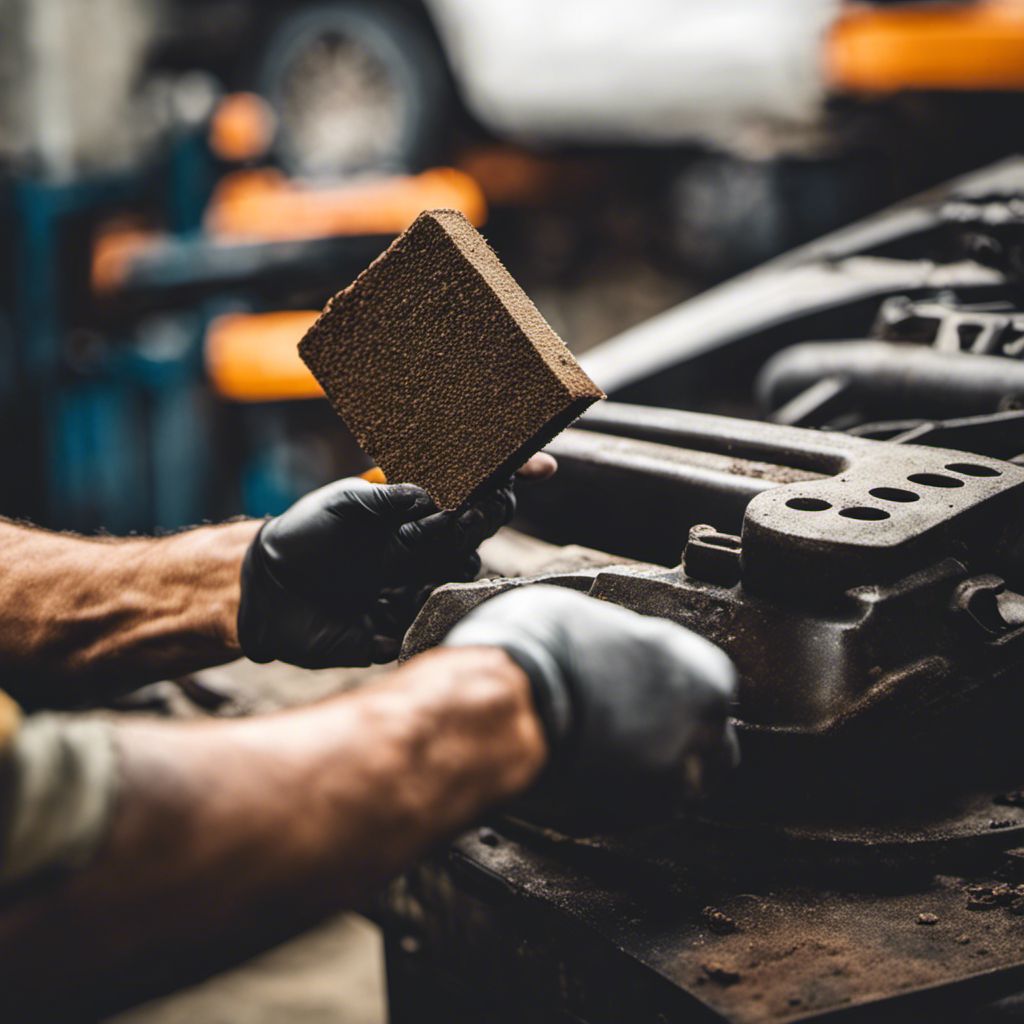
Have you ever felt that annoying feeling that your ATV brakes are in desperate need of some TLC? Trust us, we’ve been in that spot as well and completely understand how crucial it is to maintain your brakes in prime condition.
So today, we’re going to hold your hand through this process. In this easy-to-follow guide, we’ll show you effective methods for inspecting and maintaining your ATV’s brakes for the best performance and safety.
Are you ready to make every ride safer for yourself? Let’s dive on in!
Key Takeaways
- ATV brakes need regular checks to keep them safe.
- Look at tires, brakes, and other parts for damage often.
- Brake lights can show if there is a problem with the brakes.
- Fixes early on stop bigger issues later.
Importance of Regular ATV Brake Maintenance

Keeping your ATV’s brakes in good shape is very important. It keeps you and others safe while riding. Regular brake checks can find small problems before they turn into big ones.
Brakes that work well make your rides smooth and fun. Poorly kept brakes can ruin a great ride or lead to an accident. So, regular ATV brake maintenance is crucial for every rider, no matter if you’re a pro or just ride on weekends.
We all want our ATVs to last a long time. Good care of the brakes helps this happen by preventing wear and tear on other parts of the vehicle. Plus, it saves money! Fixing small issues now costs less than big repairs later.
So as we see, keeping up with regular ATV brake service is key for safety, smooth rides, long-lasting vehicles, and saving cash!
Step-by-Step Inspection Guide

Our guide provides a detailed, step-by-step process for inspecting your ATV’s brakes that includes thorough visual checks, tire and rubber parts inspections, as well as the entire brake system evaluation.
We make it simple so you can confidently ensure your safety while enjoying the ride.
Visual Inspection
We love riding our ATVs, don’t we? But to keep them safe and fun, we need regular brake checks. Here are some visual inspection tips:
- Start by looking at the overall condition of your ATV. Make sure it looks okay.
- Next, check out the wheels and tires. They should be in good shape.
- Look at the brake pads next. They should not be too thin or worn out.
- Check your brake lines for tightness and leaks.
- Don’t forget to inspect the brake fluid level in the reservoir tank every three months as per best practices.
- See if any parts look rusty or dirty, they might need a clean up or a fix.
- Lastly, remember that if something does not seem right, you should have a professional mechanic check it.
Tire and Rubber Parts Inspection
Let’s move on to how to do a tire and rubber parts inspection. This is a big part of our ATV brake maintenance guide. It’s important for safe driving.
- Start with a visual check of your tires.
- Look for any cuts, cracks, or other damage.
- Make sure the tire tread isn’t worn out.
- If you find any issues, plan to get new tires soon.
- Next comes the rubber parts in the brake system.
- Look at the brake hoses and seals carefully.
- You want to see if they are dry or breaking apart in any way.
- These parts have to stand up to heat and pressure from the brakes.
- If they look bad, they need replacing quick!
Brake System Inspection
We want to talk about brake system inspection on your ATV. It’s a big part of keeping safe when you ride. Here are the steps we use:
- First, take a good look at all parts of the brake system. This includes calipers, pads, rotors, and air brakes.
- Use a brake system checklist to guide you through each step.
- Pay special attention if the brake service light turns on.
- Feel any strange things with the brake pedal? That tells you it’s time for an inspection.
- Technicians do more than just look at your brakes. They drive your ATV around a bit. They check the feeling of the brake pedal and even inspect lines and hoses.
- Air brakes are not like other parts of your ATV so give them extra thought. See anything out of order? Every three months is good timing for this check-up.
How to Check for Brake System Issues
We dive into detecting ATV brake problems, looking at the role of your brake service light and revealing signs that spell trouble. Keep reading to strengthen your safety game!
Brake Service Light
The brake service light on our ATVs is key. It’s like a friend that tells us if there might be an issue with the brakes. If it comes on, don’t ignore it! We should get our ATV to a pro who can check the whole brake system.
No one likes big problems. By looking at the brake service light and getting help right away, we can avoid bigger brake problems in the future. The earlier we catch them, the simpler they are to fix!
Common Warning Signs
Lights on your dashboard can show brake problems. So, if you see a light, check your brakes right away. If brake fluid leaks out, there’s trouble too. Remember, this fluid helps slow down your ATV.
Less sharp brakes mean something wrong as well. The same goes for any new noises or shakes when stopping. Also, watch out for mushy or stiff brakes because it says an issue with the system may be happening.
Vibrations while riding might be from bad brakes also. Understanding these warning signs is key to keep yourself safe and have fun outings in your ATV.
Maintenance and Rebuilding
Let’s delve into the nitty-gritty of routine maintenance and poke around the complex yet intriguing world of rebuilding your ATV brake system. Remember, proper upkeep can prevent costly repairs down the line.
Let’s roll up our sleeves – there’s much to discuss so read on!
Routine Maintenance
Let’s jump into the tasks for routine maintenance. These steps keep our ATV in top shape. First, we do visual checks. We look over the entire bike. Then we check tires and all rubber pieces to see if they are okay.
Rebuilding the Brake System
Fixing a brake system can seem tough, but we’re here to make it easier. Follow these steps to rebuild your ATV brake system:
- Start by checking the brake service light.
- Find out if it is on. If yes, there’s an issue with the brake system.
- Always look at the calipers, pads, and rotors closely.
- Use your eyes and hands to spot wear or damage.
- Adjusters and clevis pins need attention too.
- Look for any changes in their settings or wear signs.
- Check a commercial vehicle air brake system every three months.
- Don’t forget to inspect the anchor brackets for wear or damage.
Conclusion
With good care, your ATV brakes last longer. This keeps you safe on every ride. Make brake checks a habit before you hit the trail. Your ATV will thank you for it!
FAQs
1. Why do I need to check my ATV brakes?
You should check your ATV brakes for safety reasons and to ensure that they work properly.
2. How often should I inspect my ATV brakes?
It’s best to inspect your ATV brakes after every ride or at least once a month, even if you don’t use it regularly.
3. What will happen if I don’t maintain my ATV brakes?
If you do not maintain your ATV brakes, they can wear down over time and might fail when you need them the most, which could lead to accidents.
4. Can I inspect and fix my ATV brake issues on my own?
Yes, with the right tools and a guide, you can inspect and fix minor problems with your ATV’s brakes on your own.
5. What are some signs that there is something wrong with my ATV’s brake system?
Some signs of issues could be strange noises while braking, less responsive pedal input or any fluid leaks around the wheel area.

